How To Convert Air Fryer Recipe To Oven Made Simple
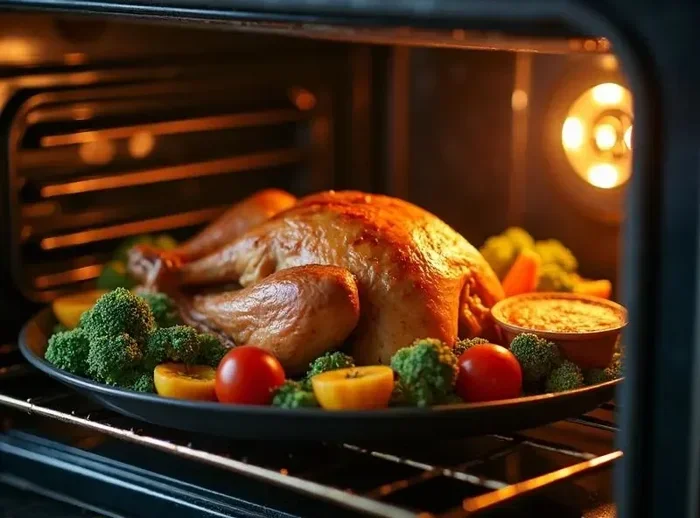
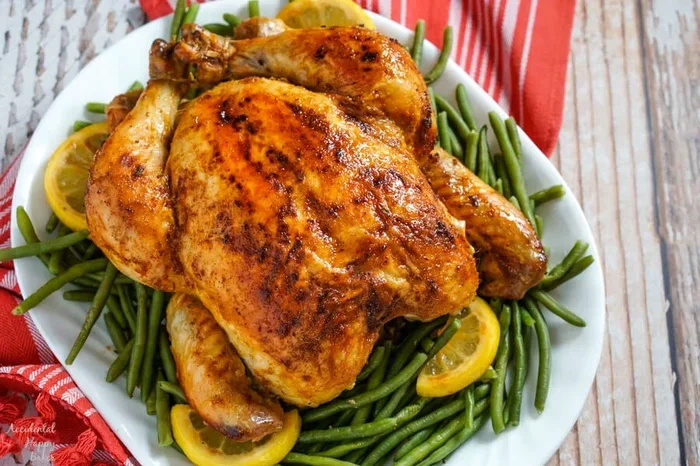
Converting air fryer recipes to oven is easier than you think. With the right temperature tweaks and cooking time adjustments, you can enjoy the same crispy, delicious results using your regular oven. This guide walks you through every step to make your favorite air fryer dishes in the oven without any guesswork.
Have you ever found a perfect air fryer recipe and thought, “I wish I could make this in my oven”? You are not alone. Thousands of home cooks search for the answer every day. How to convert air fryer recipe to oven is one of the most common kitchen questions people ask. The good news is that it is a lot simpler than you might expect.
Air fryers and ovens both use hot air to cook food. The main difference is size and speed. An air fryer circulates super-hot air around small food portions very quickly. A regular oven heats a larger space more slowly. But with a few easy adjustments, you can get nearly identical results from your oven. This guide will show you exactly how.
Whether you love crispy chicken, roasted vegetables, or homemade fries, this article covers everything you need. You will learn about temperature changes, time adjustments, and the best tools to use. By the end, you will feel confident moving any air fryer recipe into your oven. Let us get started.
Key Takeaways
- Lower the temperature by 25°F: Ovens run hotter than air fryers, so reducing heat prevents burning.
- Add 5-10 minutes to cooking time: Ovens need more time to achieve the same crispiness.
- Use a wire rack or baking sheet: Proper placement ensures even air circulation like an air fryer.
- Preheat your oven always: Just like an air fryer, preheating gives better results.
- Don’t overcrowd the pan: Space matters for crispy, evenly cooked food.
- Flip or shake halfway through: This mimics the air fryer’s rapid hot air flow.
- Use an oven thermometer: Verify your oven’s actual temperature for accurate cooking.
📑 Table of Contents
Why Convert Air Fryer Recipes to Oven?
Not everyone owns an air fryer. Some people have a small kitchen and cannot fit one. Others simply prefer using their oven for bigger meals. Whatever your reason, knowing how to adapt recipes is a valuable skill. It opens up your cooking possibilities without buying new equipment.
Here are some common reasons people want to make this switch:
- Cooking for a larger group: Air fryers have small baskets. Ovens can handle bigger batches easily.
- Family meals: You can cook a whole chicken or multiple trays at once in the oven.
- No air fryer available: Maybe yours broke or you never bought one.
- Better for certain foods: Some dishes benefit from the even heat of an oven.
- Saving counter space: Using your oven frees up kitchen real estate.
The key is understanding that both appliances work on the same basic principle. They use hot air to cook and crisp food. Once you grasp that concept, the rest becomes simple. How to convert air fryer recipe to oven really just comes down to three things: temperature, time, and placement.
Understanding the Basic Differences
Before you start converting recipes, it helps to understand how air fryers and ovens differ. These differences shape every adjustment you will make. Let us break it down clearly.
How an Air Fryer Works
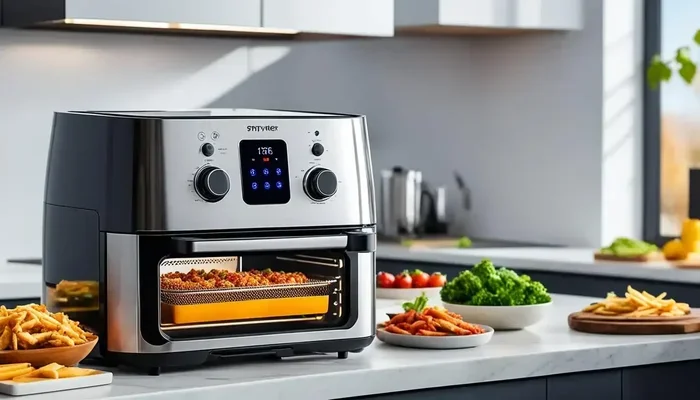
An air fryer is basically a small convection oven. It has a powerful fan that blows hot air around the food at high speed. This rapid air circulation creates a crispy outer layer while keeping the inside moist. Because the cooking chamber is so small, the hot air reaches the food very quickly.
Air fryers typically run at temperatures between 350°F and 400°F. Cooking times are usually short, often 10 to 20 minutes. The compact size means food cooks fast and evenly from all sides. This is why air fryer fries come out so crispy in just 15 minutes.
How a Regular Oven Works
A standard oven also uses heating elements to generate hot air. However, the fan in a regular oven is usually less powerful than in an air fryer. The larger cavity means heat takes longer to distribute evenly. Hot spots can occur, especially in older ovens.
Most home ovens range from 250°F to 500°F. Cooking times are generally longer because of the bigger space. If you have ever noticed that your oven takes a while to preheat, that is normal. The large interior simply needs more energy to reach the target temperature.
Convection Ovens vs. Standard Ovens
If your oven has a convection setting, you are in luck. Convection ovens have a fan similar to air fryers. They circulate hot air more efficiently, which means closer results to air frying. Standard ovens without a fan will need a few extra adjustments. Knowing which type of oven you have helps you plan better.
| Feature | Air Fryer | Convection Oven | Standard Oven |
|---|---|---|---|
| Fan Power | Very strong | Moderate to strong | Weak or none |
| Cooking Chamber Size | Small | Medium to large | Large |
| Preheat Time | 1-3 minutes | 5-10 minutes | 10-15 minutes |
| Typical Temp Range | 350°F – 400°F | 300°F – 450°F | 250°F – 500°F |
| Best For | Small batches, crispy foods | Roasting, baking, crisping | Baking, slow roasting |
The Golden Rules of Conversion
Now that you understand the basics, let us get into the actual conversion process. These golden rules will guide you every time you move a recipe from air fryer to oven. Follow them closely for the best results.
Rule 1: Lower the Temperature by 25°F
This is the single most important adjustment. Air fryers concentrate heat in a tiny space, so they cook faster and at effective higher temperatures. Your oven spreads heat across a larger area, so it needs a slightly lower setting to avoid burning the outside of your food.
For example, if an air fryer recipe calls for 400°F, set your oven to 375°F. If the recipe says 375°F, drop it to 350°F. This simple rule prevents overcooking and keeps your food from turning dark too quickly.
How to convert air fryer recipe to oven starts with this temperature reduction. It is the foundation of every successful conversion. Write it down and keep it handy when you are cooking.
Rule 2: Add 5 to 10 Minutes to Cooking Time
Because ovens heat more slowly and have a larger cavity, food takes longer to cook. Always add extra time to the original air fryer recipe. Start by adding 5 minutes, then check for doneness. You can always cook a little longer, but you cannot undo overcooked food.
Thick items like chicken breasts or roasts may need the full 10 extra minutes. Thin items like french fries or thin chicken strips might only need 5 extra minutes. Use a meat thermometer for proteins to check internal temperature accurately.
Here is a quick reference for time adjustments:
- Thin foods (fries, chips): Add 5 minutes
- Medium foods (chicken tenders, nuggets): Add 5-8 minutes
- Thick foods (whole chicken, roasts): Add 8-15 minutes
- Vegetables: Add 5-10 minutes depending on size
Rule 3: Always Preheat Your Oven
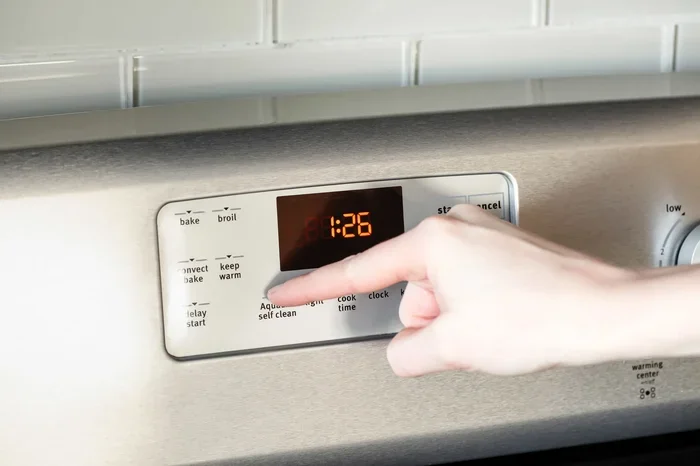
Never skip preheating. An air fryer heats up almost instantly because of its small size. Your oven needs 10 to 15 minutes to reach the target temperature. Preheating ensures your food starts cooking immediately at the right heat.
Place your oven thermometer inside while preheating. Many ovens run hotter or cooler than their displayed temperature. Knowing your oven’s true temperature helps you make even better conversions. This is a pro tip that separates good results from great ones.
Rule 4: Use the Right Cookware
The pan or dish you use matters more in an oven than in an air fryer. Air fryers have perforated baskets that let hot air flow all around the food. In an oven, you need to recreate that airflow as much as possible.
Here are the best cookware choices for oven conversions:
- Wire cooling rack on a baking sheet: This is the closest you can get to an air fryer basket. Air flows underneath the food, creating crispiness on all sides.
- Parchment paper or silicone mat: Prevents sticking without blocking air circulation.
- Dark baking sheets: Dark pans absorb more heat and promote browning.
- Avoid glass or ceramic dishes: These retain heat differently and can cause uneven cooking for crispy foods.
Rule 5: Do Not Overcrowd the Pan
This mistake is the number one reason oven conversions fail. Air fryers cook small batches with plenty of space around each piece. If you cram too much food onto one baking sheet, the hot air cannot circulate properly.
The result is steamed, soggy food instead of crispy perfection. Leave at least half an inch of space between each item. If you need to cook more food, use two baking sheets and rotate them halfway through cooking. It takes a little longer, but the results are worth it.
Step-by-Step Conversion Process
Let us put all these rules together into a simple, repeatable process. Follow these steps every time you want to convert air fryer recipe to oven and you will get consistent, delicious results.
Step 1: Read the Recipe Carefully
Before you touch your oven, read the entire air fryer recipe from start to finish. Note the temperature, cooking time, and any special instructions. Pay attention to whether the recipe says to shake the basket or flip the food. You will need to do the same in the oven.
Step 2: Adjust the Temperature
Subtract 25°F from the air fryer temperature. Set your oven to the new temperature. Use your oven thermometer to verify it has reached the correct heat before placing food inside.
Step 3: Adjust the Cooking Time
Add 5 to 10 minutes to the original cooking time based on the thickness of the food. Set a timer for the shorter end first. You can always add more time if needed.
Step 4: Prepare Your Pan
Line a baking sheet with parchment paper or a silicone mat. Place a wire rack on top if you want extra crispiness. Arrange the food in a single layer with space between each piece.
Step 5: Cook and Monitor
Place the pan in the center of the oven. Set your timer and check the food at the halfway point. Flip or shake the food just as you would in an air fryer. This promotes even browning on all sides.
Step 6: Check for Doneness
Use visual cues and a thermometer. Food should be golden brown and crispy on the outside. For meats, check that the internal temperature reaches the safe zone. Let the food rest for a few minutes before serving. This allows juices to redistribute and keeps food moist.
Best Foods to Convert from Air Fryer to Oven
Some foods convert beautifully from air fryer to oven. Others are better left in the air fryer. Knowing which foods work well helps you plan your meals more effectively.
Foods That Convert Perfectly
- French fries and potato wedges: These are easy to convert. The wire rack method gives you fantastic crispiness.
- Chicken wings and tenders: Oven-baked chicken wings are a classic for a reason. They come out crispy and juicy.
- Roasted vegetables: Broccoli, Brussels sprouts, and carrots all do wonderfully in the oven.
- Meatballs and sausage rolls: These cook evenly on a rack and brown nicely.
- Fish fillets and shrimp: Delicate proteins benefit from the gentler, more even heat of an oven.
Foods That Are Trickier to Convert
- Very small or thin items: Things like potato chips can burn easily in a larger oven.
- Foods with batter or breading: These need high, direct heat to stay crispy. The oven can sometimes soften them.
- Delicate items like cheese-filled snacks: These can leak or burst in an oven where heat is less focused.
For tricky items, consider using the convection setting if your oven has one. The stronger fan helps mimic the air fryer effect. You can also use the broiler for the last minute or two to add extra crispiness on top.
Common Mistakes to Avoid
Even experienced cooks make mistakes when converting recipes. Here are the most common errors and how to avoid them.
Skipping the Preheat
Some people put food into a cold oven and hope for the best. This leads to uneven cooking and longer total time. Always preheat. It only takes 10 to 15 minutes and makes a huge difference in results.
Using the Wrong Pan
Placing food directly on a flat baking sheet without a rack creates a steaming effect underneath. The bottom of your food will be soft instead of crispy. A wire rack is your best friend for oven conversions.
Not Flipping or Shaking
Air fryers naturally circulate air from all directions because of their compact shape. Ovens heat from the top and bottom elements. If you do not flip or shake your food halfway through, one side will be darker than the other.
Overcrowding the Pan
We mentioned this earlier, but it deserves repeating. Packing too much food onto one sheet pan is the fastest way to disappointing results. Give each piece room to breathe. Your crispiest oven dishes come from single-layer cooking.
Ignoring Your Oven’s Hot Spots
Most ovens have areas that run hotter than others. The back of the oven is often the hottest. Rotate your baking sheet 180 degrees halfway through cooking to ensure even browning. This simple trick can elevate your results significantly.
Pro Tips for Oven-Crispy Results
Want your oven-cooked food to taste just as good as air fryer results? These pro tips will take your cooking to the next level.
- Brush food with a thin layer of oil: Even if the air fryer recipe does not call for oil, a light spray or brush helps achieve browning in the oven.
- Use the upper third of the oven: Placing your rack higher exposes food to more direct top heat, which promotes browning.
- Cook in smaller batches: Two batches on one tray beat one overcrowded tray every time.
- Add a finishing broil: After cooking through, switch to broil for 1-2 minutes for extra crispiness. Watch it closely to prevent burning.
- Let food rest on the rack: Do not remove food from the rack immediately. Letting it rest for 3-5 minutes keeps it crispy longer.
- Season after cooking: Salt can draw moisture out during cooking. Season lightly before and add more after for the best texture.
Quick Conversion Cheat Sheet
Print this out or save it to your phone. It makes how to convert air fryer recipe to oven effortless every single time.
- Temperature: Reduce by 25°F from air fryer setting
- Time: Add 5-10 minutes depending on thickness
- Rack position: Center of the oven
- Cookware: Wire rack on a baking sheet
- Space: Leave half an inch between items
- Flip/Shake: Halfway through cooking time
- Preheat: Always, for 10-15 minutes
Keep this cheat sheet in your kitchen. The more you use it, the more natural the conversion process becomes. Soon you will not even need to think about it. Your oven will become your new best friend for crispy, delicious meals.
Conclusion
How to convert air fryer recipe to oven is a skill that every home cook should have in their toolkit. It gives you more flexibility, more space, and the ability to cook for bigger groups without sacrificing taste or texture. The key is understanding the three main adjustments: temperature, time, and placement.
Remember to lower the temperature by 25°F, add 5 to 10 minutes to cooking time, and always use a wire rack on a baking sheet. Preheat your oven, do not overcrowd the pan, and flip your food halfway through. These simple habits will transform your oven-cooked meals.
With practice, converting recipes becomes second nature. You will start experimenting with your favorite air fryer dishes and discovering new ones that work beautifully in the oven. The kitchen is your playground. Use every tool you have to make delicious meals for yourself and your family.
So next time you find an amazing air fryer recipe, do not hesitate. Pull out your oven, follow these steps, and enjoy the same crispy, mouthwatering results. Happy cooking!
Frequently Asked Questions
Can I use a glass baking dish instead of a wire rack for oven conversions?
You can, but results will be different. Glass dishes trap heat and create steam underneath the food, which makes the bottom soft instead of crispy. A wire rack on a baking sheet is the best choice for replicating air fryer crispiness. If you must use a glass dish, place it on the upper oven rack and add a few extra minutes of cooking time.
How long should I preheat my oven before converting an air fryer recipe?
Preheat your oven for at least 10 to 15 minutes. Air fryers heat up in under 3 minutes because of their small size. Your oven needs more time to reach the target temperature evenly. Using an oven thermometer ensures you are preheating to the correct adjusted temperature for best results.
Do I need to adjust the recipe ingredients when converting from air fryer to oven?
Usually, you do not need to change the ingredients. The ingredients stay the same. Only the cooking temperature, time, and cookware change. However, you may want to reduce added oil slightly since ovens distribute heat more slowly and food can dry out faster at higher temperatures.
What temperature should I set my oven to if the air fryer recipe says 380°F?
Subtract 25°F from the air fryer temperature. So for a 380°F air fryer recipe, set your oven to 355°F. If your oven does not have fine temperature control, round to 350°F. This adjustment prevents the outside of your food from burning while the inside cooks through properly.
Can I use aluminum foil when converting air fryer recipes to the oven?
Yes, you can use aluminum foil, but do not cover the entire baking sheet. Foil blocks airflow, which is essential for crispy results. Use small pieces of foil to cover delicate parts of food that might brown too quickly, like the tips of chicken wings or the top of a casserole.
Why is my oven food not as crispy as my air fryer food?
The most common reason is overcrowding the pan or not using a wire rack. Without proper air circulation around the food, it steams instead of crisping. Also, make sure you are lowering the temperature by 25°F and flipping the food halfway. Using the convection setting, if available, can dramatically improve crispiness too.