How To Make Perfect Coffee In Philips Coffee Maker
Making coffee in a Philips coffee maker is simple once you know the right steps. This guide covers everything from choosing the best coffee grounds to adjusting strength and cleaning your machine. You will learn how to get a rich, flavorful cup every single morning.
There is nothing quite like waking up to the smell of fresh coffee brewing in your kitchen. A Philips coffee maker makes this moment easy and reliable every single day. Whether you are a casual coffee drinker or someone who needs that first cup to start the day, learning how to use your machine properly makes a huge difference.
This guide will walk you through everything you need to know about making perfect coffee in your Philips coffee maker. We will cover the basics of setup, the best coffee grounds to use, and how to adjust settings for your personal taste. By the end, you will feel confident brewing a great cup every morning without any guesswork.
Your morning routine sets the tone for the rest of the day. A good cup of coffee can make that routine feel special and energizing. Let us dive into the simple steps that will transform your daily brew.
Key Takeaways
- Use fresh, medium-ground coffee for the best flavor extraction in your Philips coffee maker.
- Always use clean, cold filtered water to improve taste and protect your machine.
- Adjust the strength selector to match your personal preference for light or bold coffee.
- Clean your Philips machine regularly to prevent buildup and extend its lifespan.
- Follow the correct coffee-to-water ratio (about 2 tablespoons per cup) for consistent results.
- Run a monthly descaling cycle to remove mineral deposits and keep your coffee tasting fresh.
📑 Table of Contents
Understanding Your Philips Coffee Maker
Before you start brewing, it helps to know the basic parts of your machine. Most Philips coffee makers share a similar design that makes them easy to use. Once you understand how the machine works, you will get better results every time.
Key Parts of the Machine
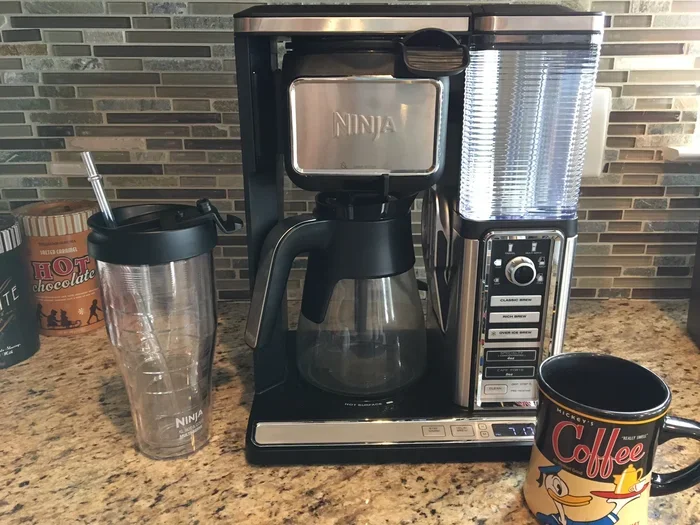
The water reservoir holds the water you will use for brewing. It is usually located at the back or side of the machine. The carafe sits on the warming plate and collects the finished coffee. The filter basket holds the coffee grounds during the brewing process. The strength selector lets you choose between regular and bold coffee.
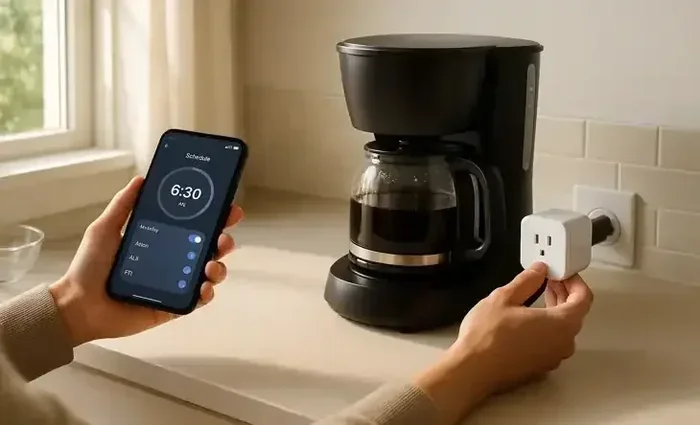
Most Philips models also include a programmable timer. This feature lets you set the machine to brew automatically at a specific time. It is a great way to wake up to fresh coffee without any effort.
What Kind of Coffee Works Best
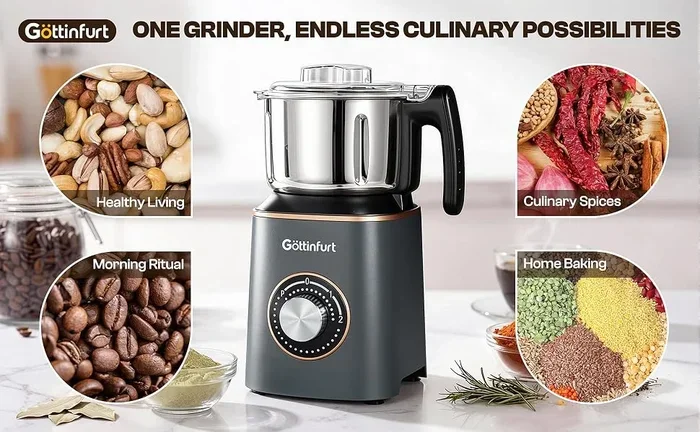
For the best results, use medium-ground coffee designed for drip coffee makers. Pre-ground coffee from the store works well, but freshly ground beans make an even better cup. The grind size matters a lot. Too fine and the coffee can become bitter. Too coarse and the brew will taste weak and watery.
You can use any brand of coffee you like. However, choosing quality beans and grinding them yourself will give you a noticeably richer flavor. Think of it like making a meal with fresh ingredients instead of canned ones. The difference is real and easy to taste.
While you are preparing your morning routine, you might also want to warm up some garlic bread in the oven for a quick breakfast side. The aroma of fresh bread pairs wonderfully with a hot cup of coffee.
Preparing the Perfect Brew
Getting the preparation right is the most important part of making great coffee. A few simple steps before you hit the brew button will make a big difference in taste and quality.
Step 1: Clean the Machine First
Always start with a clean coffee maker. If you brewed coffee the night before, throw away the old filter and grounds. Rinse the carafe and filter basket with warm water. This removes any leftover oils or residue that could affect the flavor of your new brew.
A quick rinse takes only a minute but keeps your coffee tasting fresh. Over time, oils from coffee can build up inside the machine and create a stale taste. Regular cleaning prevents this problem completely.
Step 2: Fill the Water Reservoir
Use cold, clean water for the best results. Fill the reservoir to the level that matches the number of cups you want to brew. Most Philips coffee makers have markings on the side of the reservoir to help you measure accurately.
Always use fresh water. Water that has been sitting in the reservoir for a long time can taste flat or stale. If you notice any odd taste in your coffee, try using fresh cold water from the tap or a filtered source.
Step 3: Add the Coffee Filter
Place a paper filter or a reusable permanent filter into the filter basket. Paper filters are the most common choice. They catch the coffee grounds and let the liquid pass through cleanly. Reusable filters are more environmentally friendly and save money over time.
Make sure the filter fits snugly in the basket. A loose filter can cause grounds to end up in your cup, which nobody wants.
Step 4: Measure the Coffee Grounds
The general rule is about two tablespoons of coffee grounds for every six ounces of water. This ratio works well for most Philips coffee makers and produces a balanced, flavorful cup.
If you prefer stronger coffee, add an extra half tablespoon per cup. If you like it milder, use a little less. Experiment with the amount until you find your perfect balance. Keeping track of what works helps you repeat the results every morning.
After you have measured the grounds, pour them into the filter basket. Spread them evenly for consistent extraction during the brew cycle.
Step 5: Place the Carafe and Start Brewing
Put the carafe on the warming plate. Make sure it sits flat and secure. On most Philips models, the machine will not start if the carafe is not properly placed. This is a safety feature that prevents spills and messes.
Close the lid, select your desired strength setting, and press the brew button. The machine will heat the water and run it through the coffee grounds automatically. The whole process usually takes between five and ten minutes depending on the model and the number of cups.
While your coffee is brewing, you might also want to roast some breakfast potatoes in the convection oven for a complete morning meal. The oven and the coffee maker can work together to make your breakfast routine faster and more enjoyable.
Adjusting Strength and Settings for Your Taste
One of the best things about a Philips coffee maker is the ability to customize your brew. The strength selector is the simplest way to control how your coffee tastes. But there are other settings and tricks that can help you get exactly the cup you want.
Using the Strength Selector
Most Philips coffee makers have a switch or button for coffee strength. The regular setting produces a standard cup of coffee. The bold setting increases the contact time between water and grounds, resulting in a stronger, more intense flavor.
If you find your coffee too mild on the regular setting, try switching to bold. If it is too strong, go back to regular. This simple adjustment can completely change your coffee experience without changing the amount of grounds you use.
Programming the Timer
The programmable timer is a fantastic feature for busy mornings. Set it the night before and wake up to the smell of fresh coffee. To program the timer, simply follow these steps:
- Press the timer button on your machine.
- Set the desired wake-up time using the hour and minute buttons.
- Fill the water reservoir and add coffee grounds before going to bed.
- Make sure the carafe is in place.
- The machine will automatically start brewing at the set time.
Just like preparing a turkey requires setting the right temperature and timing, programming your coffee maker timer takes a little planning but delivers consistent results every morning.
Experimenting with Water Temperature
Water temperature affects coffee extraction more than most people realize. The ideal temperature for brewing coffee is between 195 and 205 degrees Fahrenheit. Philips coffee makers are designed to heat water to this range automatically.
If your machine has a temperature setting, try adjusting it slightly. A hotter brew can bring out more flavor from the grounds. A slightly cooler brew can produce a smoother, less bitter cup. Small changes can lead to big improvements in taste.
Coffee-to-Water Ratio and Measurement Guide
Getting the ratio right is one of the biggest factors in coffee quality. Too much coffee and the brew becomes overpowering and bitter. Too little and the coffee tastes thin and weak.
Here is a simple measurement guide for Philips coffee makers:
- One cup (6 oz): Use 2 tablespoons of coffee grounds.
- Two cups (12 oz): Use 4 tablespoons of coffee grounds.
- Four cups (24 oz): Use 8 tablespoons of coffee grounds.
- Full carafe (typically 10-12 cups): Use 20-24 tablespoons of coffee grounds.
These measurements are starting points. Feel free to adjust based on your personal preference. Some people like to use a kitchen scale for more precise measurements. A scale can help you get the same great result every single time.
The quality of your water also matters. Hard water with high mineral content can affect both the taste of your coffee and the performance of your machine. Filtered or bottled water often produces a cleaner, better-tasting brew.
Cleaning and Maintenance Tips
Taking care of your Philips coffee maker keeps it working well for years. A well-maintained machine brews better coffee and lasts longer. Cleaning does not take much time, but it makes a real difference.
Daily Cleaning Routine
After every use, throw away the used filter and coffee grounds. Rinse the filter basket with warm water. Wash the carafe with warm soapy water and dry it thoroughly. Wipe down the outside of the machine with a damp cloth.
These simple steps take less than two minutes. They prevent buildup and keep your coffee tasting fresh from the first cup to the last.
Monthly Descaling
Minerals from water build up inside your coffee maker over time. This buildup is called limescale. It can slow down the brewing process and affect the taste of your coffee. Descaling removes this mineral buildup and keeps your machine running smoothly.
Most Philips coffee makers have a descaling indicator light. When it comes on, it is time to descale. You can use a commercial descaling solution or a mixture of white vinegar and water. Run the descaling cycle according to your machine’s instructions, then rinse the machine thoroughly with clean water.
Descaling should be done at least once a month if you use your coffee maker daily. In areas with hard water, you may need to descale more frequently.
Replacing Filters and Parts
Replace paper filters after every use. Reusable filters should be washed thoroughly and replaced every few months if they become worn or stained. Check the user manual for your specific model to find recommended replacement parts and schedules.
Taking care of small parts like filters and seals keeps the entire machine working properly. Neglecting these parts can lead to bigger problems over time.
Common Mistakes to Avoid
Even experienced coffee makers can make mistakes that affect the quality of their brew. Here are some common errors and how to avoid them.
- Using the wrong grind size: Espresso grounds are too fine for a drip coffee maker. Stick to medium grind for best results.
- Skipping the rinse: Always rinse the machine before the first brew and after every few uses. Stale water sitting in the reservoir ruins coffee flavor.
- Overfilling the filter basket: Pack too many grounds and the water cannot flow through properly. This causes uneven extraction and weak coffee.
- Ignoring the descaling light: Letting mineral buildup go too long can damage the machine and significantly affect taste.
- Using hot water in the reservoir: Always start with cold water. Hot water does not extract coffee flavors properly and can affect the machine’s internal components.
Avoiding these simple mistakes will save you time, money, and disappointment. Better coffee comes from better habits.
Troubleshooting Common Issues
Sometimes things go wrong with a coffee maker. Most problems are easy to fix without calling a repair service. Here are solutions to the most common issues.
Coffee Tastes Weak or Watery
This usually means you are using too little coffee or too much water. Try increasing the amount of grounds or reducing the water level. Check that the brew cycle is running for the full duration without interruption.
Coffee Tastes Bitter or Burnt
Bitter coffee often results from too fine a grind or too many grounds. Try using a coarser grind or reducing the amount of coffee slightly. Also check that the warming plate is not overheating the carafe for too long after brewing.
Machine Is Not Brewing
First, make sure the carafe is properly seated on the warming plate. Check that the water reservoir has enough water. Make sure the machine is plugged in and the power switch is on. If none of these work, the machine may need descaling or the thermal fuse may need replacement.
Coffee Is Brewing Too Slowly
Slow brewing is usually a sign of mineral buildup inside the machine. Run a descaling cycle and try again. If the problem continues, check that the water reservoir is not clogged or that the filter basket is not overfilled.
Conclusion
Making perfect coffee in your Philips coffee maker does not require any special skills or expensive equipment. With the right coffee grounds, clean water, and a few simple steps, you can enjoy a rich, flavorful cup every single morning. The key is consistency and attention to small details like the coffee-to-water ratio and regular cleaning.
Take the time to learn your specific model and its features. Experiment with strength settings and grind sizes until you find what works best for you. A good morning coffee routine can set a positive tone for your entire day.
Your Philips coffee maker is a reliable kitchen companion that rewards proper care with great-tasting coffee. Follow the tips in this guide and you will never settle for a mediocre cup again. Start your next morning with confidence and a perfect brew.
Frequently Asked Questions
What type of coffee is best for a Philips coffee maker?
Medium-ground coffee works best for Philips drip coffee makers. Pre-ground coffee from the store is convenient, but freshly ground beans produce a richer and more flavorful cup. Avoid using espresso or very fine grounds because they can clog the filter and cause bitter-tasting coffee.
How often should I clean my Philips coffee maker?
You should rinse the machine after every use and do a thorough cleaning at least once a week. Wash the carafe, filter basket, and reservoir with warm soapy water. Run a monthly descaling cycle to remove mineral buildup and keep the machine performing at its best.
Can I use tap water in my Philips coffee maker?
Yes, you can use tap water but filtered water produces better-tasting coffee. Tap water with heavy chlorine or mineral content can affect the flavor of your brew and may cause faster buildup inside the machine. Filtered or bottled water is always a good choice for the best results.
Why is my coffee tasting bitter?
Bitter coffee usually comes from using too many grounds, grinding the coffee too fine, or letting the machine brew for too long. Try reducing the amount of coffee slightly or using a coarser grind. Also make sure the warming plate is not overheating the carafe after brewing is complete.
How do I program the timer on my Philips coffee maker?
Press the timer button on your machine and use the hour and minute buttons to set your desired wake-up time. Fill the water reservoir and add coffee grounds the night before. Make sure the carafe is properly seated. The machine will automatically start brewing at the set time every morning.
What is the best coffee-to-water ratio for a Philips coffee maker?
The standard ratio is two tablespoons of coffee grounds for every six ounces of water. You can adjust this based on your taste preference. Use more grounds for a stronger brew and fewer grounds for a milder cup. A kitchen scale can help you measure precisely for consistent results every time.