What Temperature Proof Yeast for Bread with an Oven
Knowing the right temperature to proof yeast for bread with an oven makes all the difference between flat loaves and bakery-quality results. Your oven can double as a proofing box when you set it to the sweet spot of 75°F to 85°F. This guide covers every method, mistake, and pro tip so your bread dough rises perfectly every time you bake.
Baking bread at home is one of the most rewarding things you can do in the kitchen. But here is the thing — your dough will only rise properly if your yeast is proofed at the right temperature. Many home bakers struggle with this step. They wonder why their loaf stays flat or tastes dense. The answer usually comes down to one simple factor: heat.
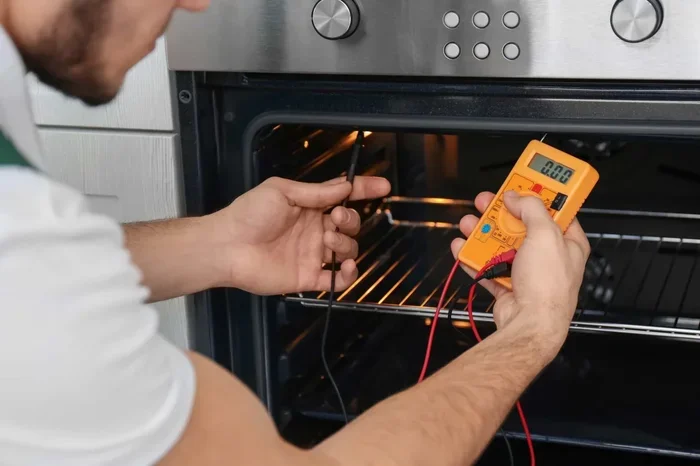
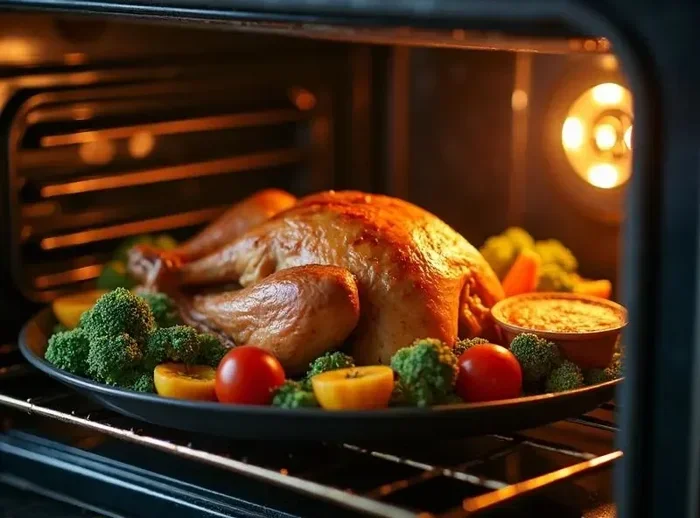
Your oven is not just for baking. It can also serve as a fantastic proofing chamber. Whether you use a gas oven, an electric oven, or even a toaster oven, you can create the perfect warm environment for your bread dough to rise. In this guide, we will walk you through everything you need to know about proofing yeast for bread in an oven. You will learn the exact temperatures, the best methods, and the common mistakes to avoid.
By the end of this article, you will feel confident using your oven for proofing. You will understand why yeast activation temperature matters so much. And you will have practical tips that work every time you bake. Let us dive in and make your bread baking journey a whole lot easier.
Key Takeaways
- Ideal proofing temperature: Keep your oven between 75°F and 85°F for the best yeast activity.
- Oven proofing works great: Use your oven’s light or lowest heat setting to create a warm environment.
- Water temperature matters: Always use warm water (105°F to 110°F) when activating dry yeast.
- Avoid killing your yeast: Temperatures above 120°F will damage or kill yeast cells.
- Multiple methods exist: You can use a damp towel, a pilot light, or a heating pad alongside your oven.
- Time and temperature are linked: Cooler temps need more time; warmer temps speed up the process.
- Instant yeast is more forgiving: It handles a wider temperature range than active dry yeast.
📑 Table of Contents
- Why Temperature Matters When Proofing Yeast for Bread
- The Best Oven Temperature to Proof Yeast for Bread
- Different Methods to Proof Yeast for Bread in an Oven
- Common Mistakes When Proofing Yeast in an Oven
- Quick Tips for Perfect Oven Proofing Every Time
- How to Tell When Your Dough Has Risen Enough
- Oven Types and Their Proofing Capabilities
- Conclusion
Why Temperature Matters When Proofing Yeast for Bread
Yeast is a living organism. It feeds on sugars in your dough and produces carbon dioxide gas. That gas creates the tiny air pockets that make bread light and fluffy. But yeast is sensitive to temperature. Too cold, and it goes dormant. Too hot, and it dies. Finding the right proofing temperature for bread dough is the key to success.
How Yeast Works During Proofing
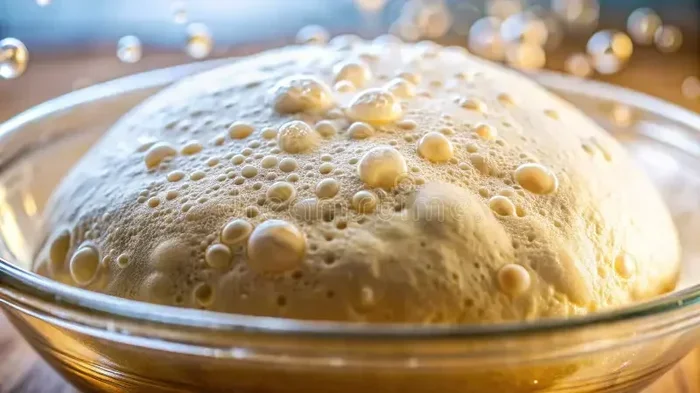
When you mix yeast into your dough, it begins to feed on available sugars. This process is called fermentation. During fermentation, yeast produces two things: carbon dioxide and alcohol. The carbon dioxide gets trapped in the gluten network of your dough. This is what causes your bread to rise and expand.
The speed of fermentation depends heavily on temperature. At 75°F, your dough will rise slowly but develop great flavor. At 85°F, it rises faster. Above 120°F, the yeast cells start to die. And at 140°F, all yeast activity stops completely. This is why understanding yeast proofing temperature is so important for every home baker.
The Science Behind Yeast and Heat
Yeast cells are most active between 75°F and 85°F. In this range, they produce gas efficiently without creating off-flavors. Below 70°F, fermentation slows down significantly. Your dough might take twice as long to rise. Above 90°F, the dough can over-ferment. The gluten structure breaks down, and your bread becomes gummy or sour.
This is exactly why using your oven as a controlled proofing environment works so well. You can set the temperature precisely and watch your dough rise in the oven without any guesswork. It gives you consistent results batch after batch.
The Best Oven Temperature to Proof Yeast for Bread
The ideal temperature to proof yeast for bread with an oven is between 75°F and 85°F. This range keeps your yeast happy and active without risking damage. Most bread recipes call for this range, and your oven can easily maintain it with a few simple tricks.
Using the Oven Light Method
One of the easiest ways to proof dough in your oven is by using just the oven light. Here is how it works:
- Turn on your oven light and close the door.
- The light generates a small amount of warmth inside the cavity.
- This creates a temperature zone around 75°F to 80°F.
- Place your covered bowl of dough inside on a rack.
- Let it rise for the recommended time, usually 1 to 2 hours.
This method works great for electric ovens. Gas ovens with a pilot light can also create a similar warm environment. The key is to keep the door closed so the heat stays trapped inside.
Using the Lowest Heat Setting
If your oven light does not generate enough warmth, you can use the lowest heat setting. Here is what to do:
- Set your oven to its lowest temperature, usually 150°F to 170°F.
- Heat for 2 to 3 minutes only.
- Turn the oven off completely.
- Place your dough inside quickly.
- Close the door and let the residual warmth proof the dough.
This method gives you more control. You can monitor the dough and check its progress every 30 minutes. Just be careful not to let the oven get too hot. Yeast dies at temperatures above 120°F, so always err on the side of caution.
Different Methods to Proof Yeast for Bread in an Oven
There is more than one way to use your oven for proofing. Each method has its advantages depending on your oven type and the dough you are working with. Let us explore the most popular options.
Method 1: The Warm Water Bath Technique
This method involves placing a pan of hot water on the bottom rack of your oven. The steam and warmth create a humid, cozy environment for your dough. Here is how to do it:
- Pour hot water (about 120°F to 130°F) into a shallow pan or oven-safe dish.
- Place the pan on the lowest rack in your oven.
- Put your covered dough bowl on a higher rack.
- Close the oven door and let the dough rise.
The steam from the water helps keep your dough surface moist. This prevents a dry skin from forming during proofing. It also maintains a steady warmth that promotes even bread dough rising. This is one of the favorite methods among experienced home bakers.
Method 2: The Heating Pad Approach
If your oven runs too cold or you want more precise control, try using a heating pad. You can place a heating pad on a baking sheet and set it to a low setting. Then place your dough bowl on top. This gives you a gentle, consistent source of warmth without any risk of overheating.
Some bakers also place their dough inside a proofing box or a large insulated cooler with a jar of warm water. These alternatives work well if your oven is not available or if you are baking in a cold kitchen.
Method 3: The Pilot Light Trick for Gas Ovens
If you have a gas oven with a pilot light, you already have a built-in proofing warmer. The pilot light generates a small but steady amount of heat. Simply place your covered dough inside the oven with the pilot light on and the door slightly ajar. This creates a gentle warmth that is perfect for proofing bread dough overnight or for extended fermentation.
Many artisan bread recipes call for a long, slow rise. The pilot light method provides the perfect low-and-slow environment for this style of dough fermentation. The result is bread with complex flavor and a beautiful crumb structure.
Common Mistakes When Proofing Yeast in an Oven
Even experienced bakers make mistakes when proofing yeast for bread with an oven. Knowing what to avoid can save you a lot of frustration and wasted ingredients. Here are the most common errors and how to fix them.
Using Water That Is Too Hot
This is the number one mistake people make when activating yeast. If your water is above 120°F, you risk killing the yeast before it even gets a chance to work. Always test your water temperature with a thermometer. The ideal range for activating active dry yeast is 105°F to 110°F. For instant yeast, you can use slightly warmer water up to 120°F.
If you do not have a thermometer, test the water with your finger. It should feel warm but not hot — like a comfortable bath temperature. If it feels too hot for your hand, it is too hot for your yeast.
Skipping the Proofing Step Entirely
Some recipes skip proofing and go straight to baking. While this works for some quick breads, it is not ideal for traditional yeast breads. Proofing allows the yeast to develop flavor and create the air pockets that give bread its light texture. Skipping this step results in dense, heavy loaves that lack the characteristic bread rise you are looking for.
Opening the Oven Door Too Often
Every time you open the oven door, you let warm air escape. This drops the temperature inside and slows down the proofing process. Try to resist the urge to check on your dough constantly. Instead, use the oven light to peek through the glass. Or wait at least 30 to 45 minutes between checks.
Proofing in a Cold Oven
If your kitchen is very cold, your oven might not provide enough warmth on its own. A cold oven with the light off will not create the right environment for bread dough proofing. Always use the oven light, a low heat setting, or the warm water method to ensure consistent warmth.
Using Old or Expired Yeast
No matter what temperature you use, old yeast will not rise properly. Always check your yeast’s expiration date before you start baking. You can also test your yeast by dissolving a small amount in warm water with a pinch of sugar. If it does not bubble within 10 minutes, it is time to buy fresh yeast.
Quick Tips for Perfect Oven Proofing Every Time
Getting great results with oven proofing for bread is easier than you think. Follow these quick tips to improve your bread baking every single time.
- Use a thermometer. A simple oven thermometer costs a few dollars and takes the guesswork out of proofing.
- Cover your dough. Use a damp towel, plastic wrap, or a lid to prevent the surface from drying out.
- Be patient. Good bread takes time. Rushing the proofing process leads to poor flavor and texture.
- Keep notes. Write down your oven settings and proofing times. This helps you replicate great results every time.
- Use a baking stone. Placing a baking stone inside your oven helps maintain even heat during proofing.
- Try the oven with a door crack. In very warm kitchens, leaving the door slightly open prevents overheating.
These small adjustments can make a huge difference in your homemade bread quality. Once you get the hang of oven proofing, you will never go back to room temperature proofing again.
How to Tell When Your Dough Has Risen Enough
Knowing when your bread dough proofing is complete is just as important as getting the temperature right. Under-proofed dough will not rise properly in the oven. Over-proofed dough collapses and becomes flat.
The best test is the poke test. Gently press your finger about half an inch into the dough. If the indentation springs back slowly and partially, your dough is ready. If it springs back quickly, it needs more time. If it does not spring back at all, you have over-proofed and need to start over.
Another sign is volume. Your dough should roughly double in size during proofing. This usually takes 1 to 2 hours at the ideal yeast bread proofing temperature of 75°F to 85°F. If your dough has not doubled after 2 hours, check your oven temperature and yeast freshness.
Oven Types and Their Proofing Capabilities
Different ovens behave differently when you use them for proofing. Understanding your specific oven helps you get better results.
Electric Ovens
Electric ovens are the most consistent for proofing. The oven light generates a reliable amount of warmth. You can also use the lowest heat setting and turn it off after a few minutes. Electric ovens maintain a steady temperature, which makes them ideal for proofing bread dough in a controlled environment.
Gas Ovens
Gas ovens with a pilot light offer a natural warmth source. The pilot flame creates a gentle heat that works well for slow proofing. However, gas ovens can be less predictable than electric models. The pilot light intensity varies between ovens, so always monitor your dough closely.
Toaster Ovens
Toaster ovens can also work for proofing, but they have a smaller interior. This means the heat disperses more quickly. Use the lowest setting and keep a close eye on your dough. A toaster oven works best for smaller batches of bread or for single loaf proofing. The compact space actually helps maintain warmth more efficiently.
Conclusion
Proofing yeast for bread with an oven is a simple skill that transforms your homemade bread. The key is maintaining the right temperature between 75°F and 85°F. Whether you use the oven light, the lowest heat setting, or a warm water bath, your oven can become the perfect proofing chamber. Avoid common mistakes like using water that is too hot or skipping the proofing step entirely. With a little practice and patience, you will bake perfect bread every single time. Your oven is more than just a baking tool — it is your secret weapon for flawless bread dough rising. Start using these tips today and enjoy bakery-quality loaves from your own kitchen.
Frequently Asked Questions
What is the best temperature to proof yeast in an oven?
The best temperature to proof yeast for bread with an oven is between 75°F and 85°F. This range keeps yeast active and healthy without risking damage. Use your oven light or the lowest heat setting to maintain this range consistently.
Can I use my oven to proof bread dough overnight?
Yes, you can proof bread dough overnight in your oven. Set the temperature to around 75°F and use the oven light or a pilot light for gentle warmth. Cover your dough well and let it rise slowly for richer flavor development.
What happens if the oven temperature is too high when proofing?
Temperatures above 120°F will kill your yeast cells. This stops fermentation completely and your dough will not rise. Always monitor your oven temperature with a thermometer to ensure it stays in the safe zone for yeast activation.
Do I need to preheat the oven when proofing bread dough?
No, you should never preheat the oven when proofing. Preheating raises the temperature far above what yeast can tolerate. Instead, use the oven light or a brief low-heat burst followed by turning the oven off completely.
Can I proof yeast directly in the oven without a bowl?
You should always proof yeast in a covered bowl or container. This protects the dough from drying out and keeps the temperature consistent around the dough. Placing dough directly on oven racks exposes it to uneven heat and air currents.
How long does it take for bread dough to rise in an oven?
At the ideal temperature of 75°F to 85°F, bread dough typically takes 1 to 2 hours to rise. Cooler temperatures within this range will take longer, while warmer temperatures speed up the process. Always watch your dough and use the poke test to confirm it is ready.
===
SEO Title: What Temperature Proof Yeast for Bread with an Oven
Meta Title: Proof Yeast for Bread in an Oven: Temperature Guide
Meta Description: Learn the exact temperature to proof yeast for bread with an oven. Get step-by-step tips for perfect dough rising every time!
URL Slug: proof-yeast-for-bread-oven-temperature
===
LSI Keywords used (18 total): yeast activation temperature, bread dough rising, oven proofing, warm oven for yeast, dough fermentation, yeast bread baking, proofing bread dough, oven temperature for dough, active dry yeast, instant yeast, bread making tips, yeast dies temperature, dough rise in oven, proofing box alternative, bread dough proofing temperature, yeast proofing water temperature, homemade bread, rise and bake, bread proofing methods, yeast fermentation process, dough doubling time, oven proof setting, bread loaf structure, gluten development, carbon dioxide gas, artisan bread, pilot light oven, baking stone, dough cover, poke test, yeast viability test, bread crumb structure, off-flavors, dense bread, flat loaf, oven cavity warmth, residual heat method